Create your account
Pick a username, a display name and a password, then choose how you unlock your mail. Your encryption keys are generated on your device — we never see them.
Creating a Private.Ki account takes one form and one decision. The form asks for a username, your name and a password. The decision — how you unlock your mail — comes right after. Your PGP key pair is generated on your device at the end of the process and your private key never leaves it in readable form.
Sign-up currently needs an invitation link. If you open the sign-up page without one you see Invite-only for now — You need an invitation link to create your Private.Ki account. Ask someone who already uses Private.Ki to invite you, or accept a chat invitation you received by email.
Fill in the form
Open the sign-up page from your invitation link, or click Create account under the sign-in form.
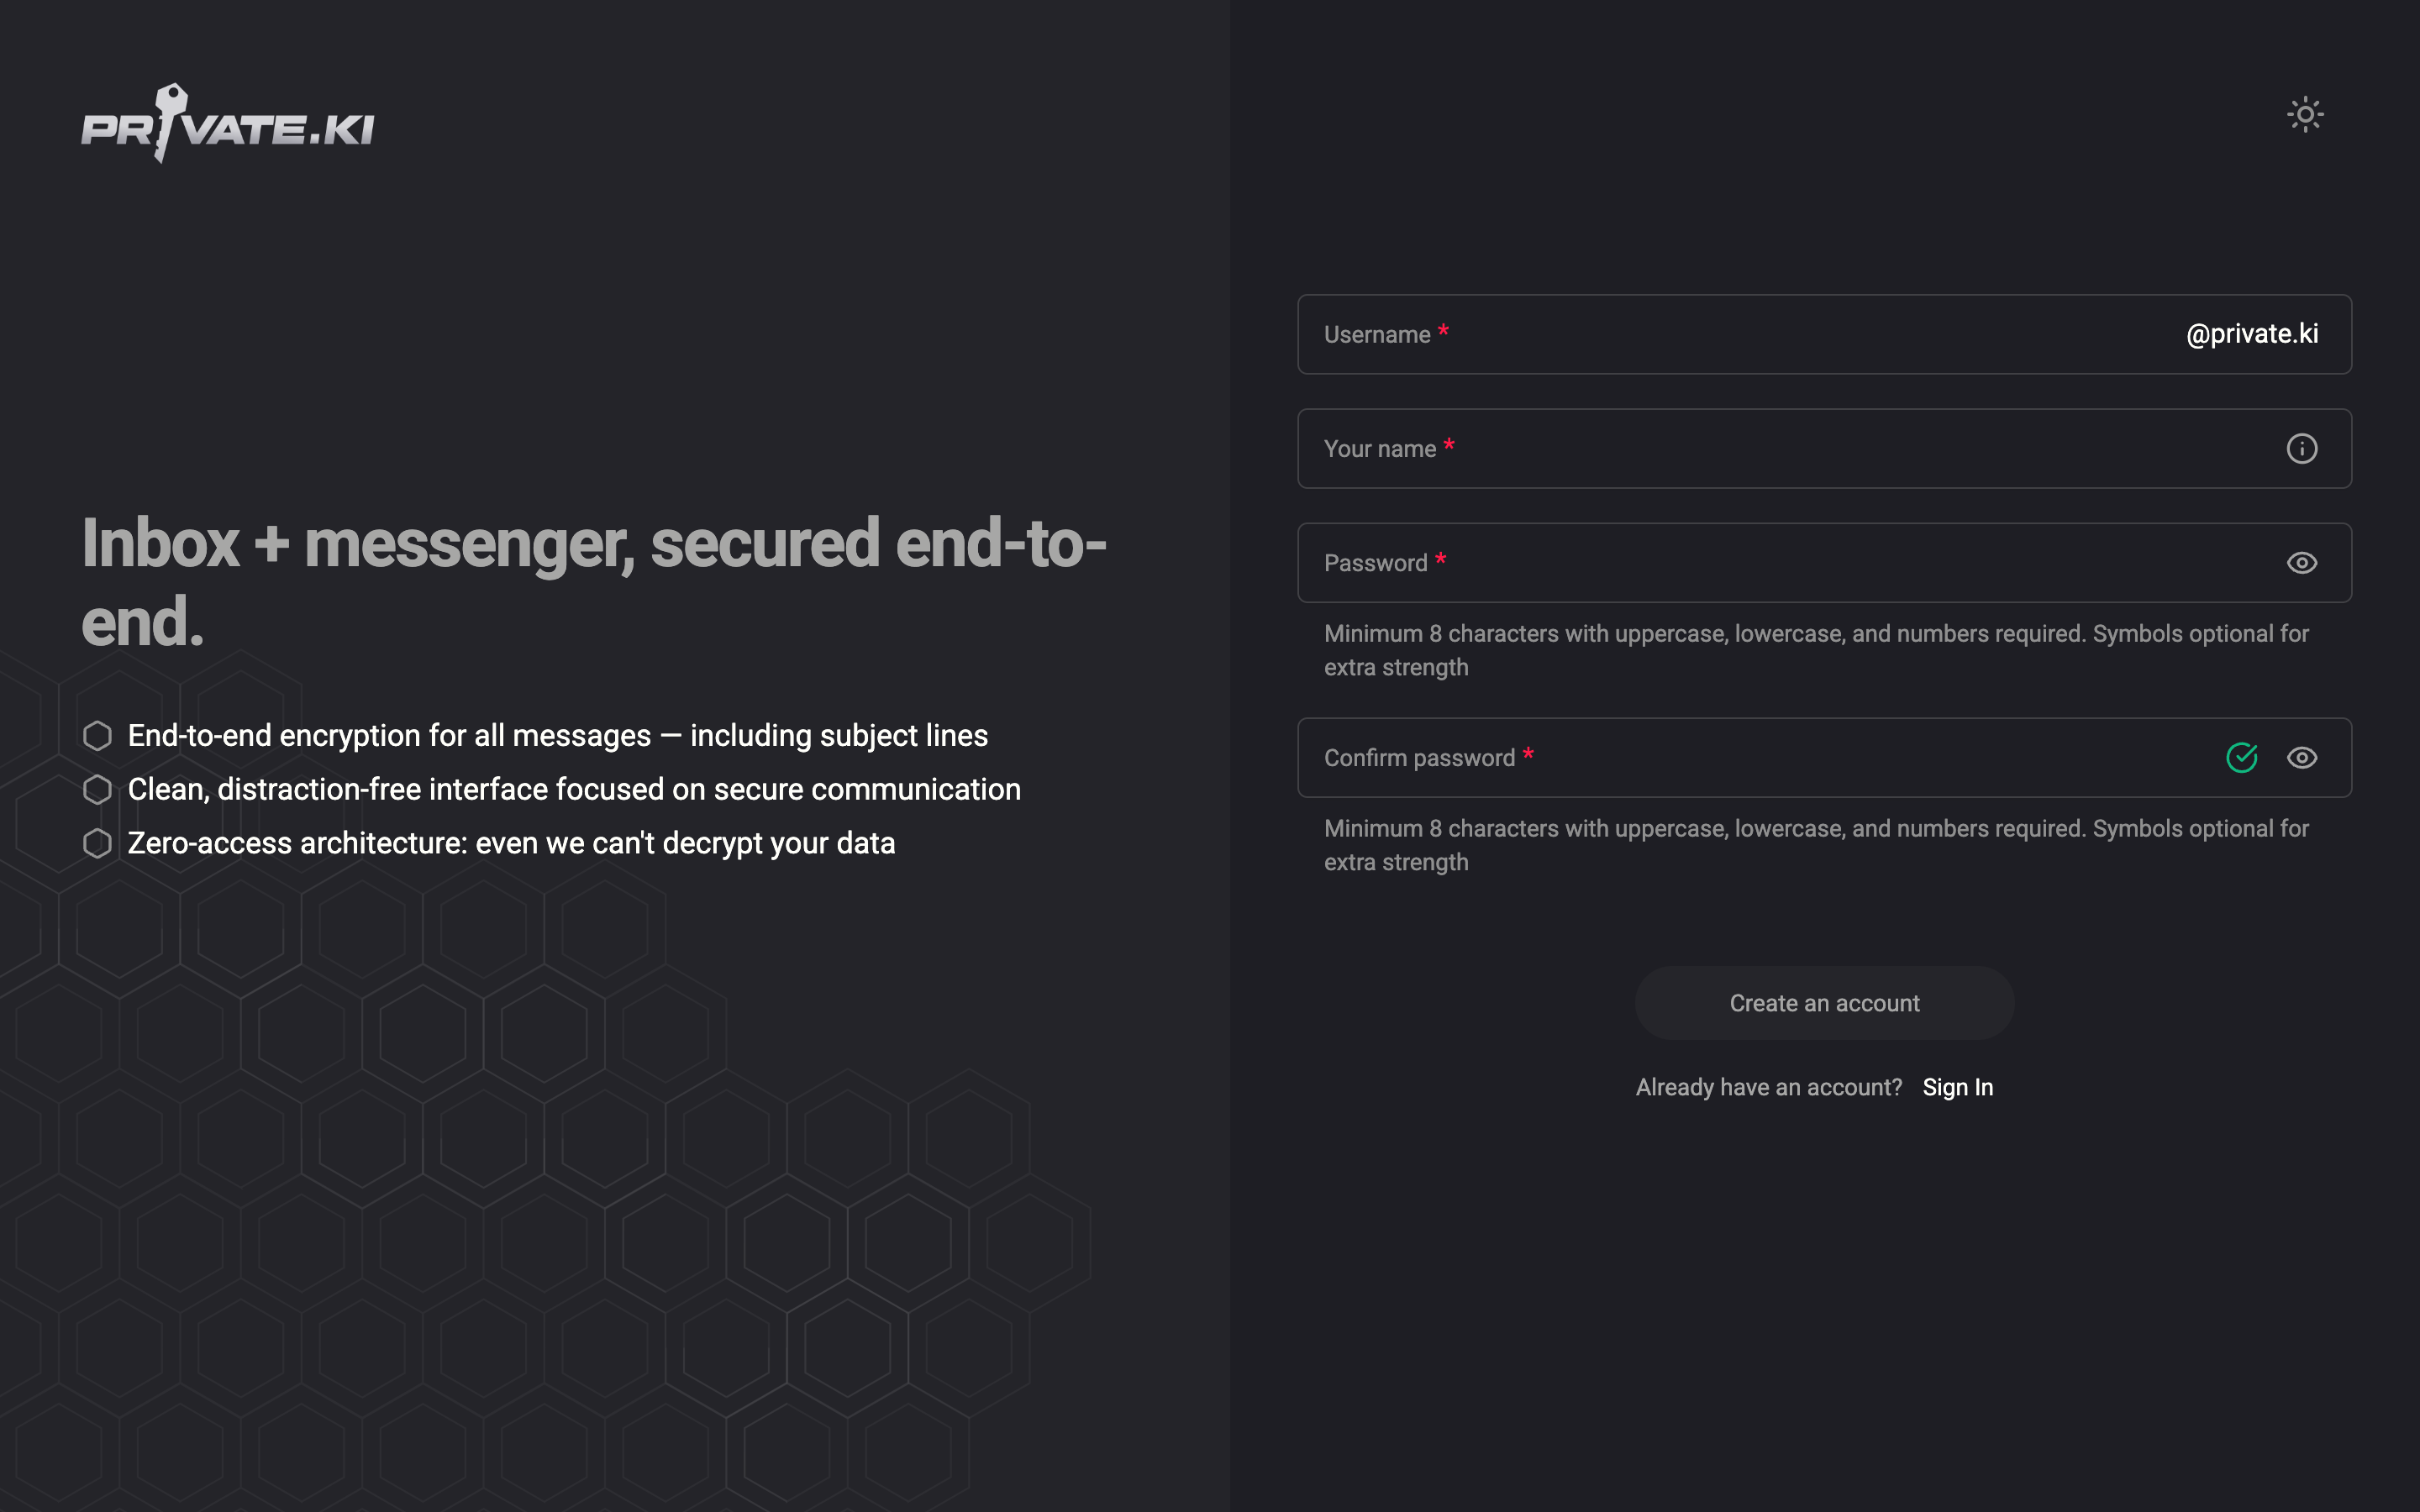
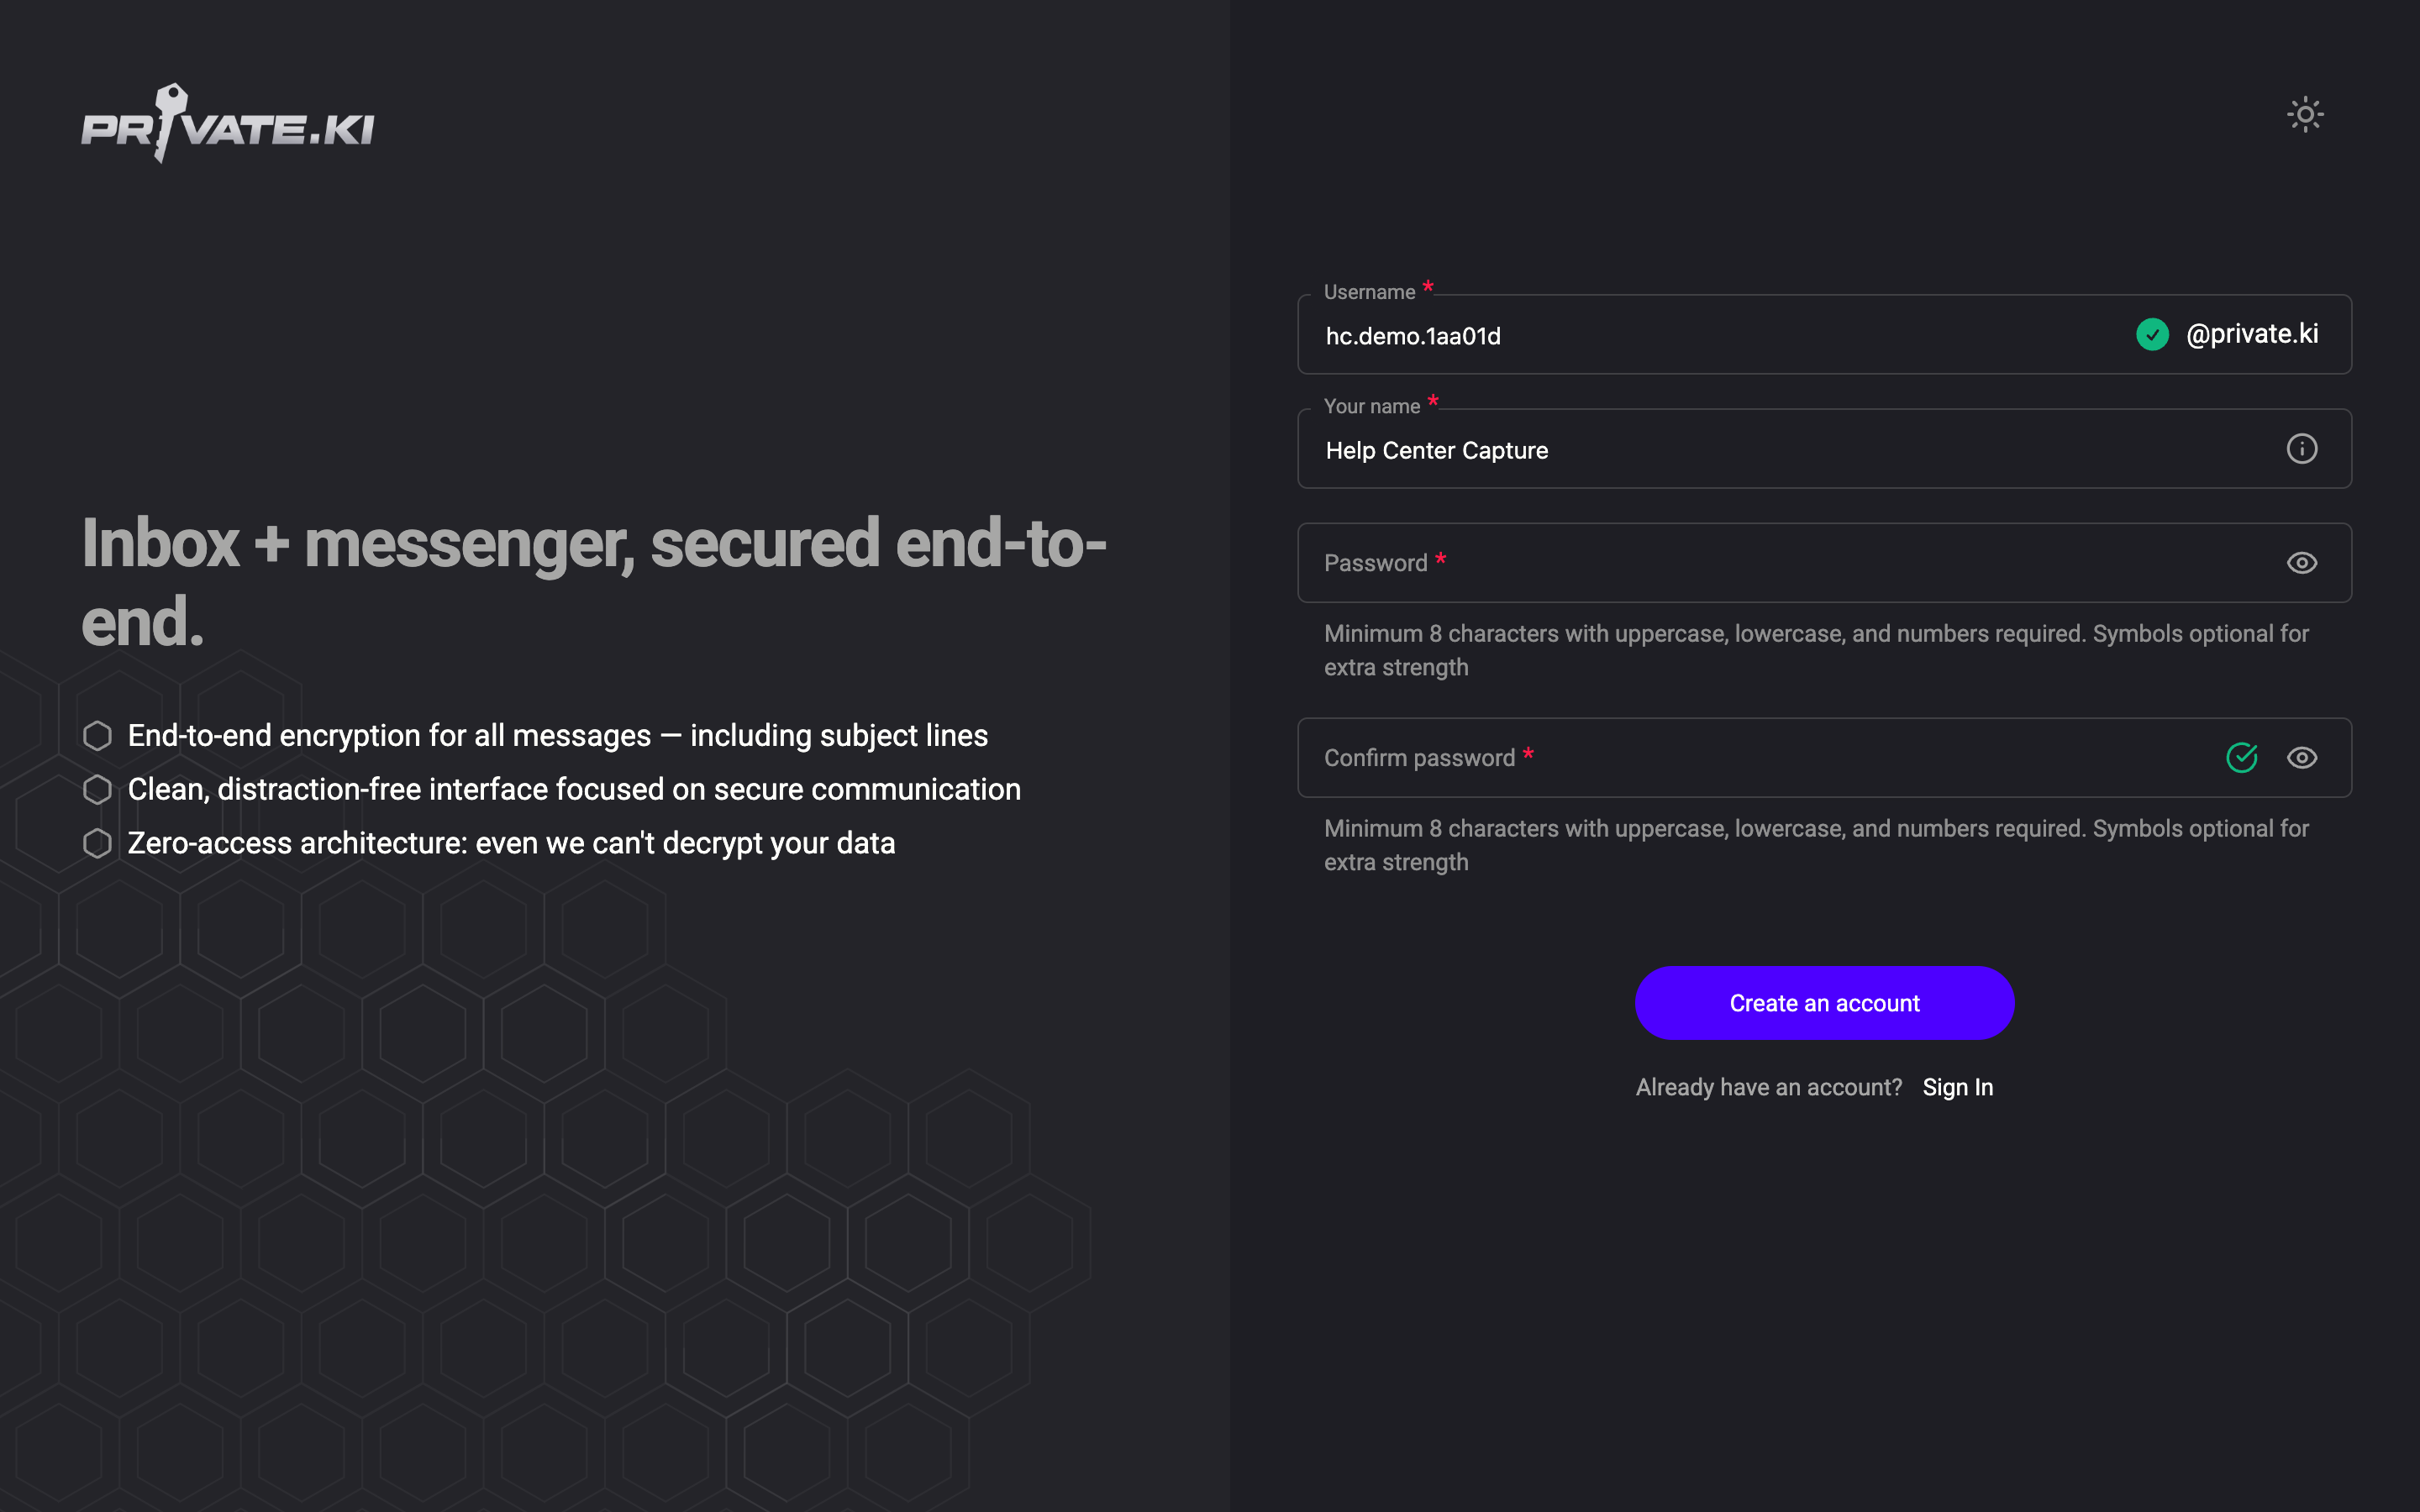
1Username — becomes your address2Your name3Password4Create an accountWeb & desktop 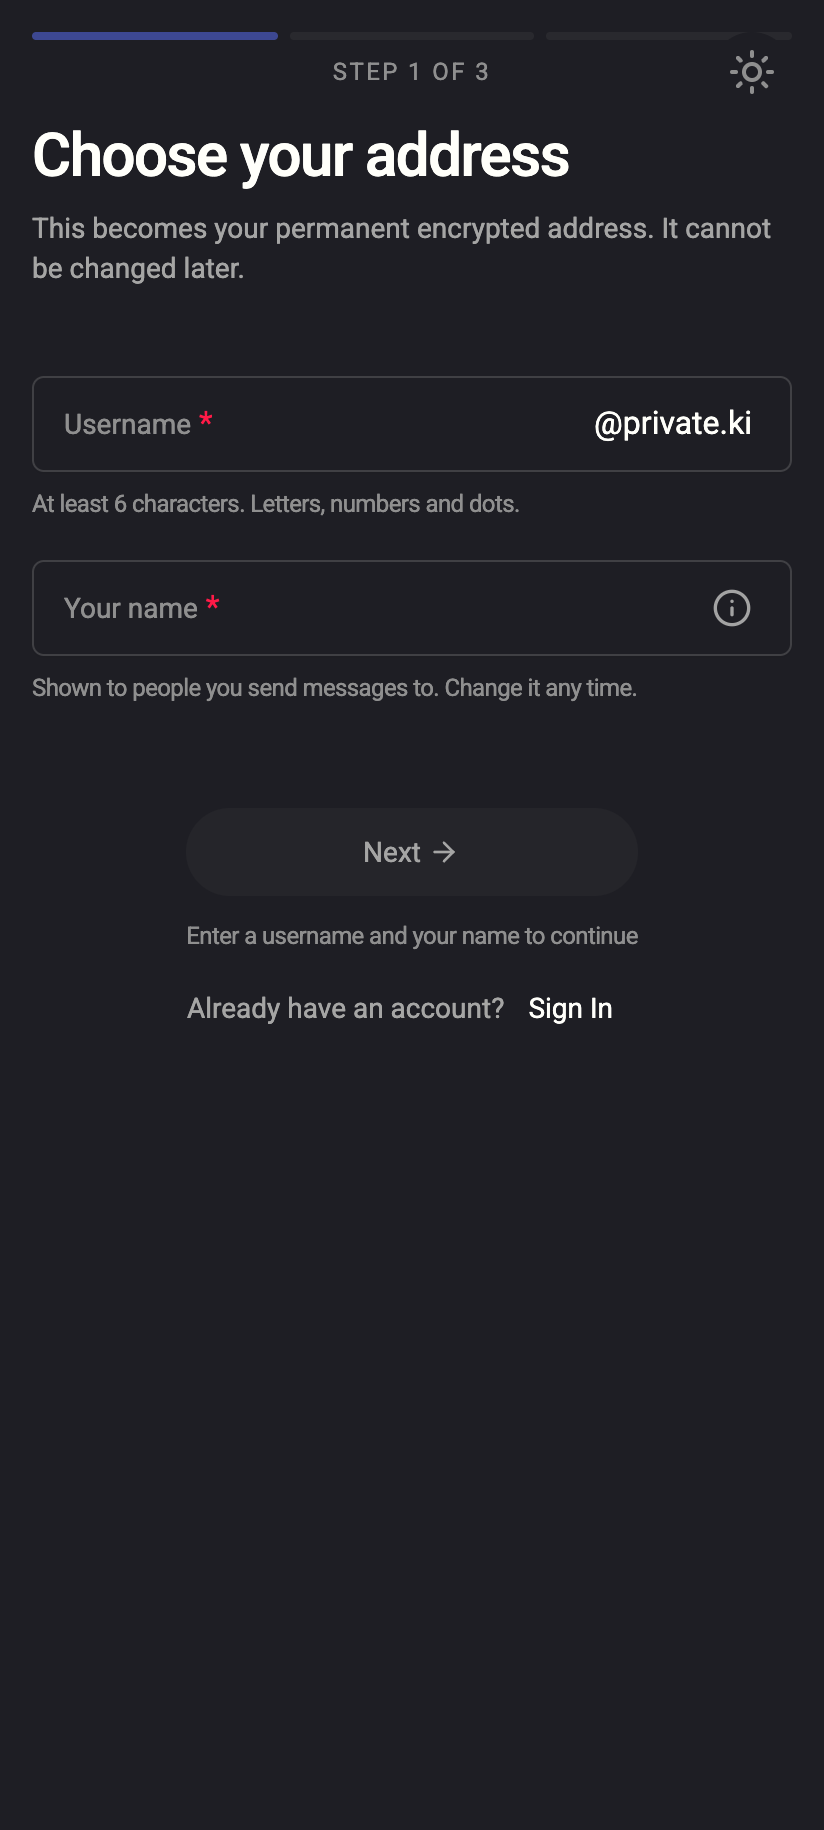 123
1231Username — becomes your address2Your name3Next — password comes in step 2iPhone 1231Username — becomes your address2Your name3Next — password comes in step 2Android Choose a username. This becomes your address:
[email protected]. It is checked live — a green tick means it is free. Rules:- 6 to 30 characters
- lowercase letters
a–z, digits0–9and dots.only (capitals are converted to lowercase as you type) - at least one letter
- no dot at the start or end, and no two dots in a row
1Green tick — username is free2@private.kiWeb & desktop 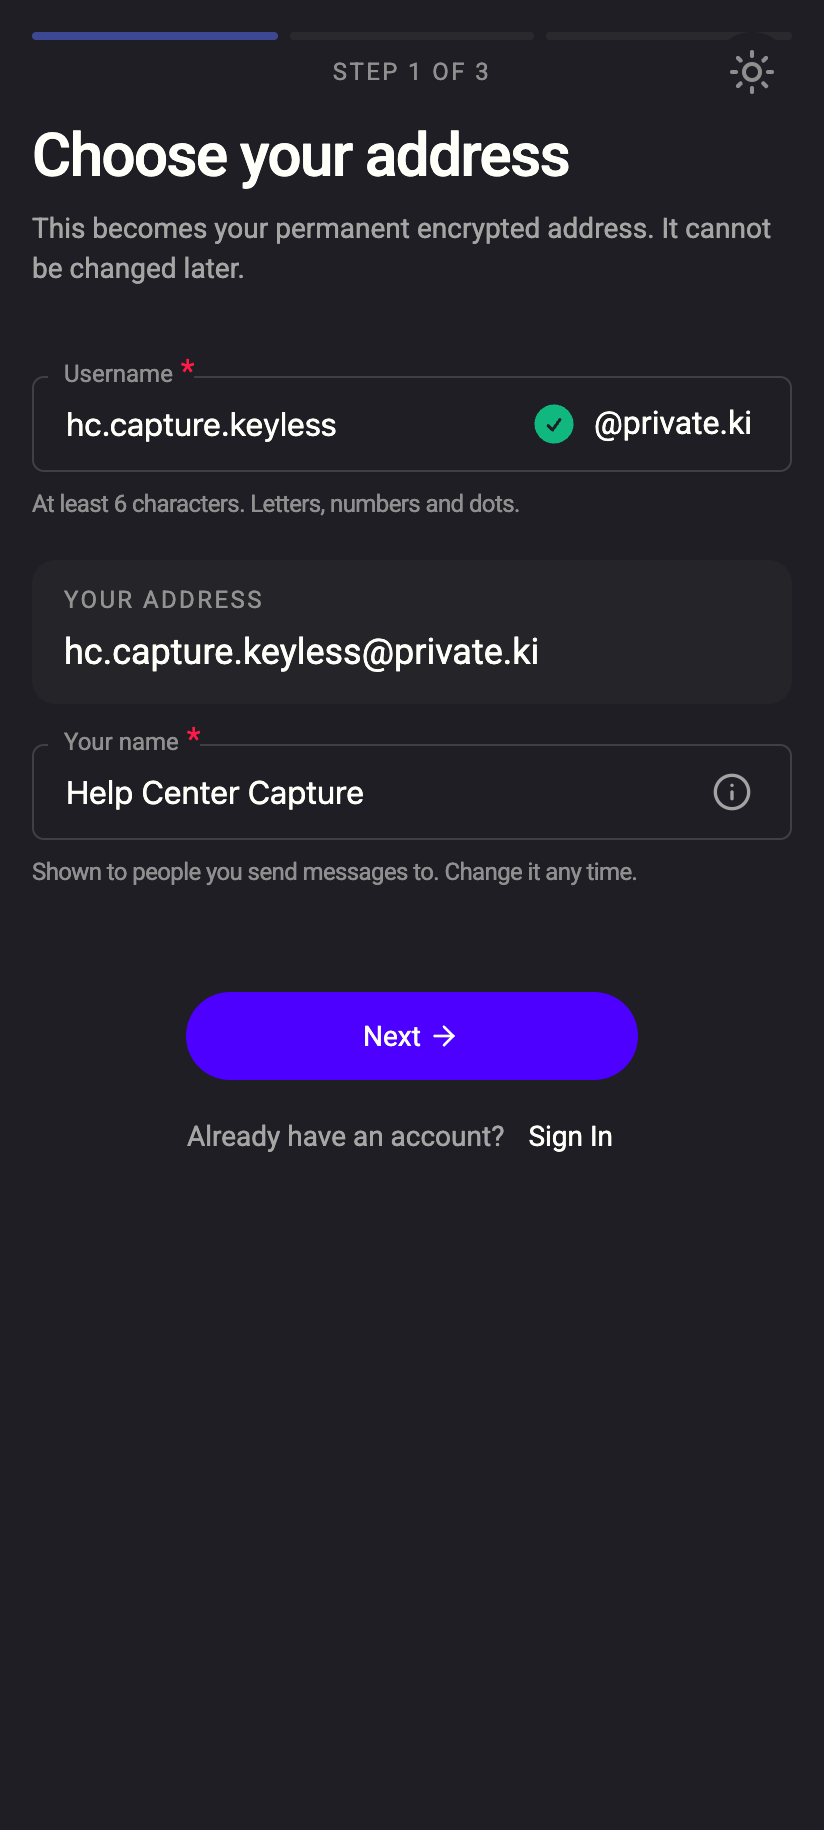 12
121Green tick — username is free2Your addressiPhone 121Green tick — username is free2Your addressAndroid Why the form doesn't say why a name is unavailableIf you see This username is not available, the app deliberately does not say whether it is taken, reserved or invalid. Revealing that would let anyone map who has an account here.
Enter your name in Your name. It is shown to the people you write to and can be changed later — see Display name. Up to 100 characters.
Set a password in Password and repeat it in Confirm password. Minimum 8 characters with at least one uppercase letter, one lowercase letter and one digit. Symbols are optional but make it stronger; the strength meter shows how you are doing.
Click Create an account. The app now solves a short proof-of-work challenge and registers you with OPAQUE — your password is never sent to our server, only a proof that you know it.
On a phone the form is split into steps, with a Step 1 of 3 counter at the top: Choose your address (username and name, then Next), Set your password (Create an account) and How should we unlock your mail?. While the account is being set up you see a progress list — Checking you're not a bot · Registering your account · Generating your key pair · Encrypting your private key · Opening your inbox. Keep the app open until it finishes.
Choose how you unlock your mail
Straight after registration you land on Choose your unlock method with two options: Password only and Passphrase (advanced). This decides what protects your private key on this device. Read Password only or passphrase — choose how you unlock before you pick; the passphrase cannot be recovered if you lose it.
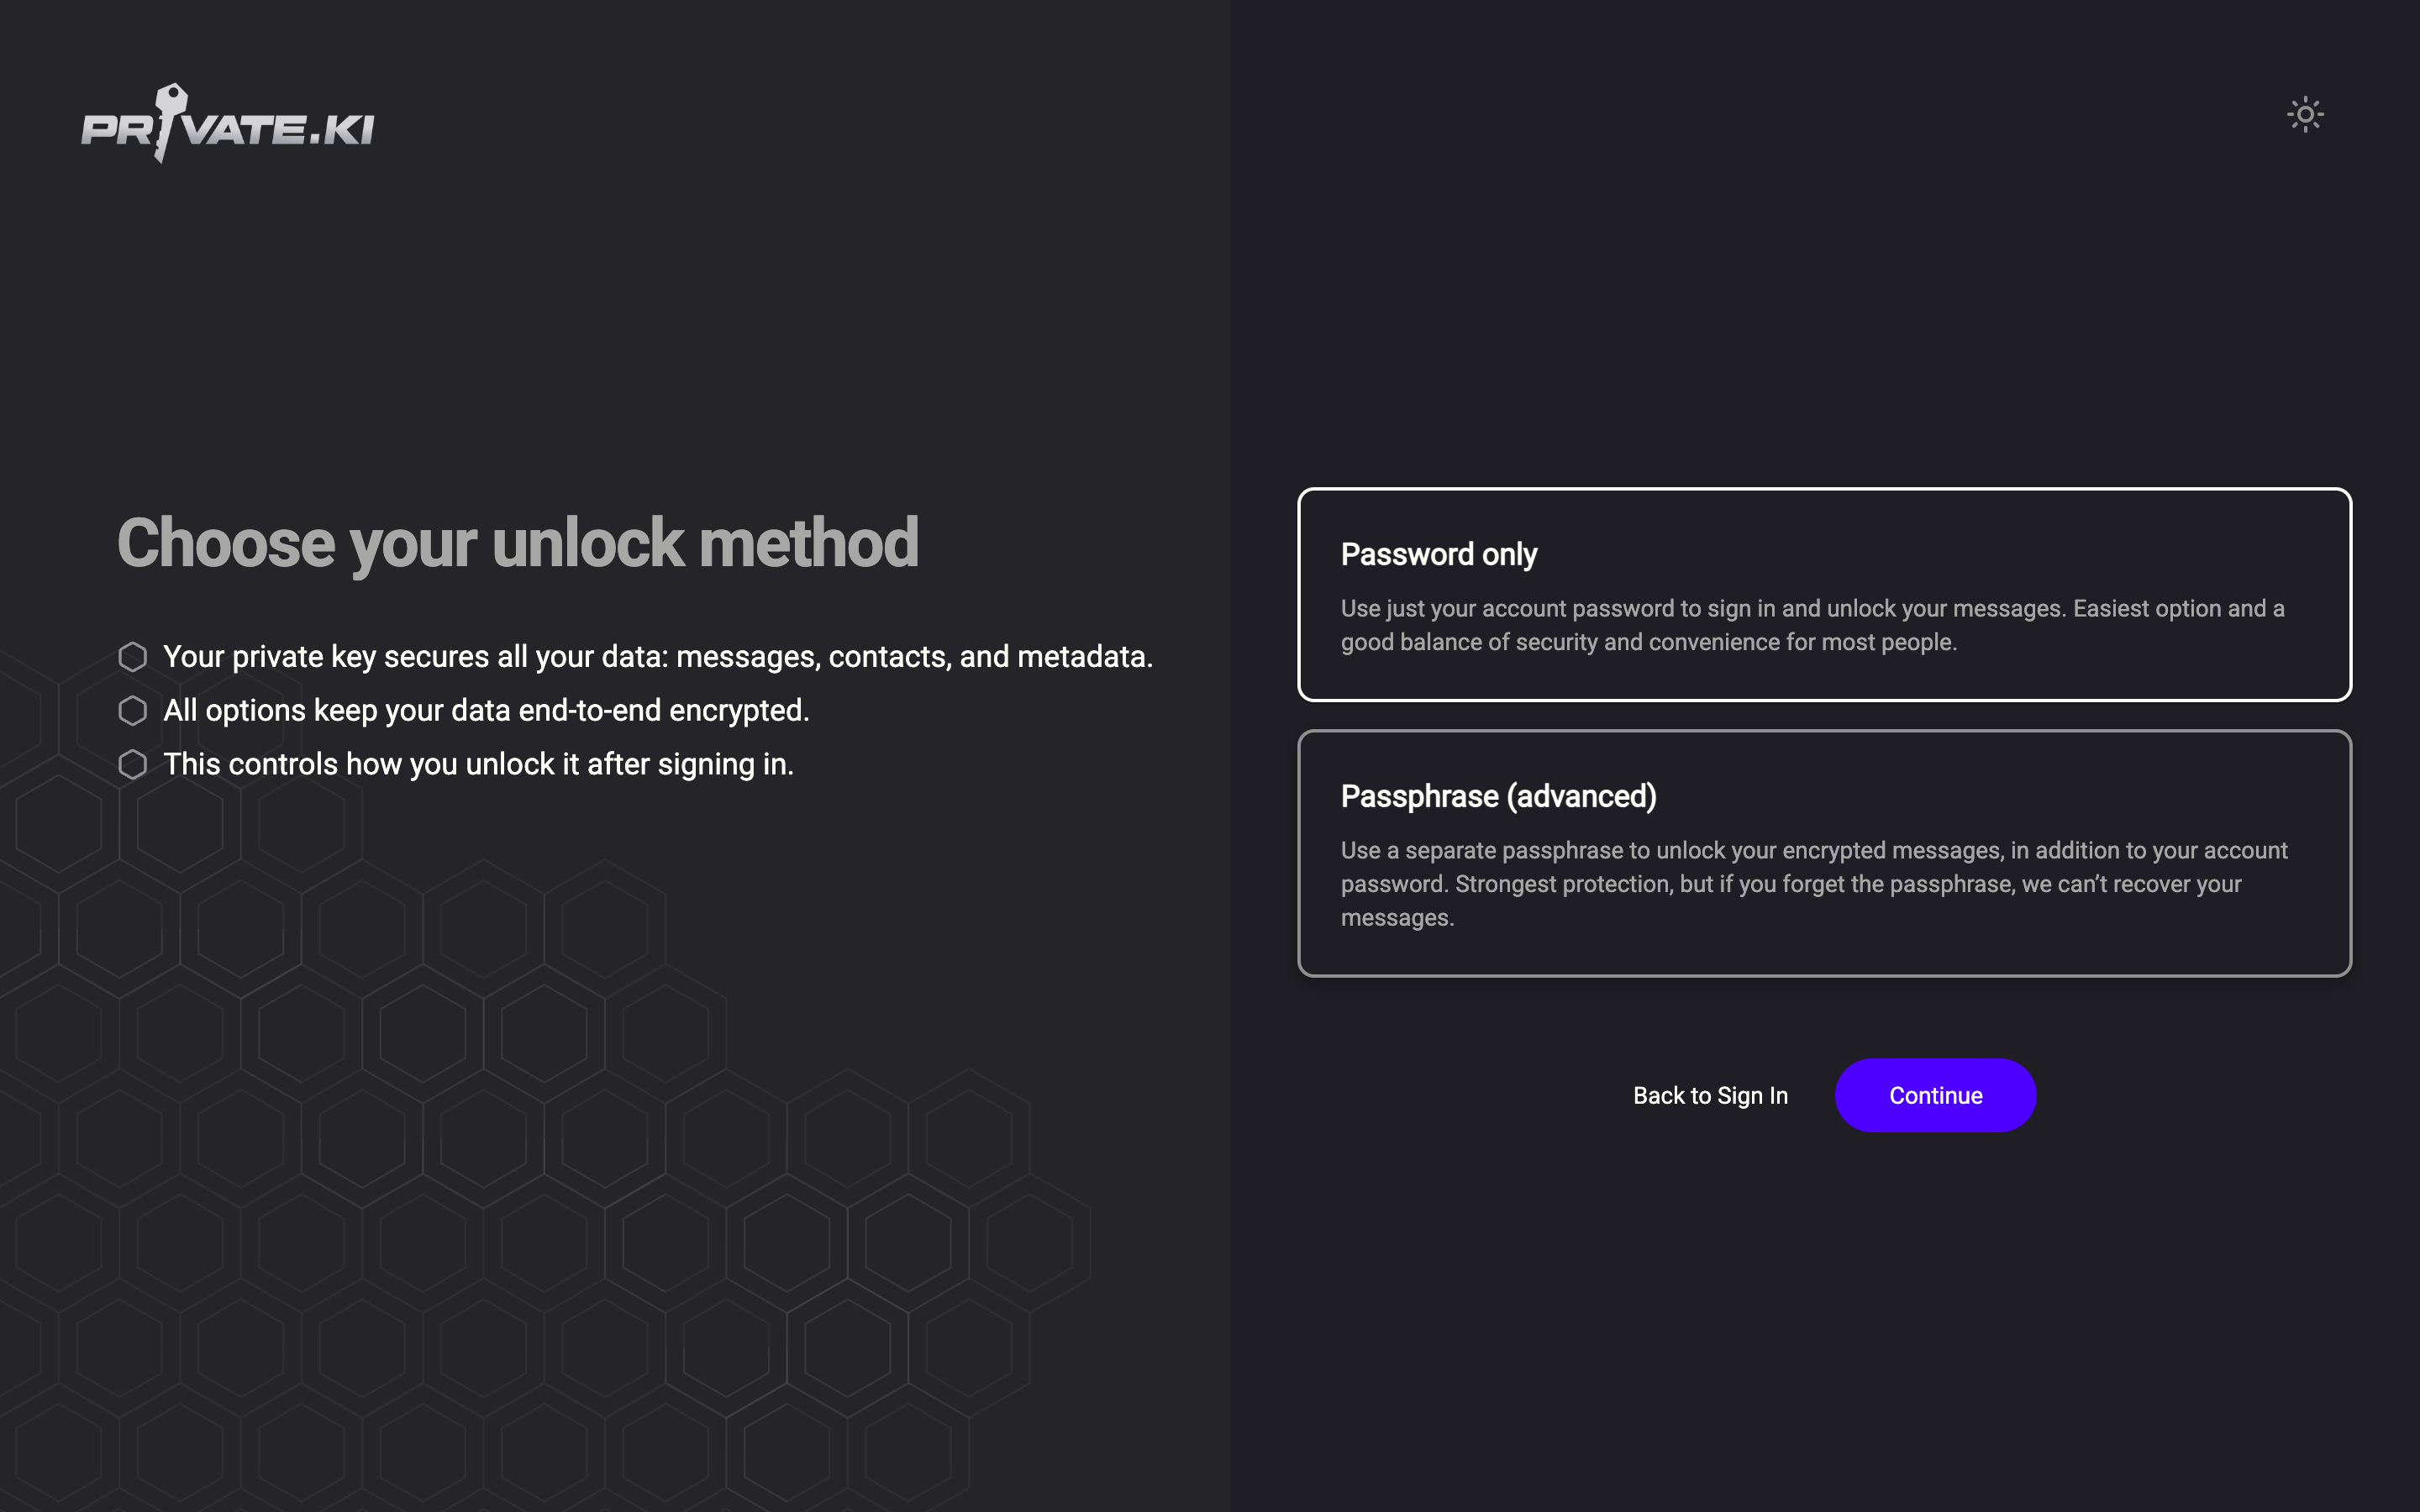
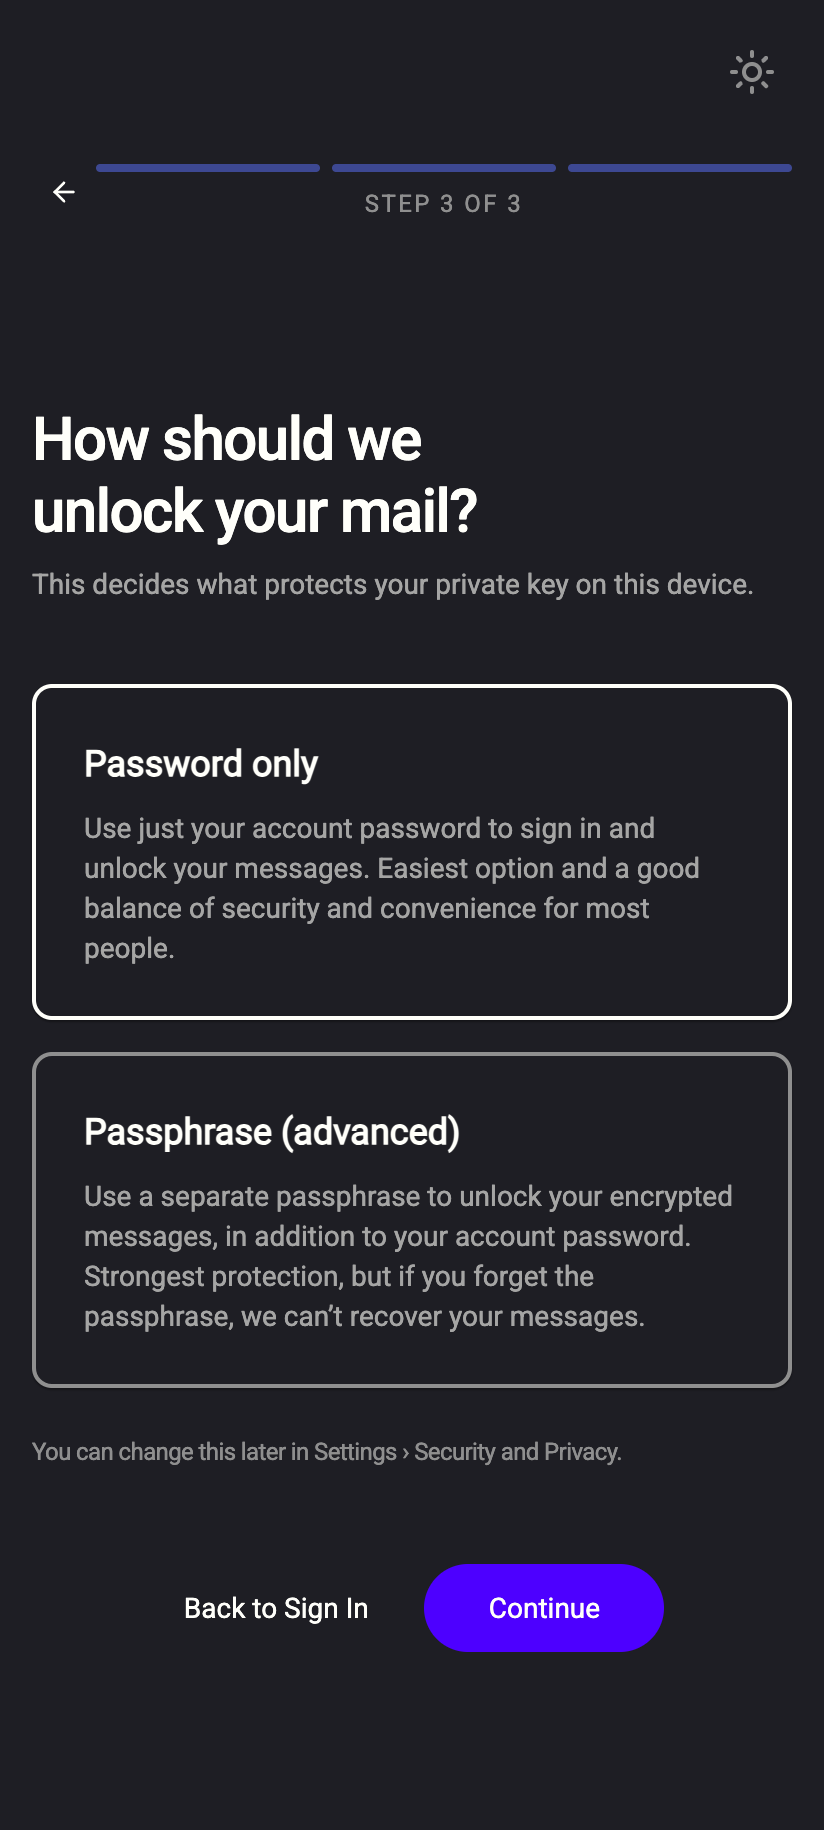 123123
Once you press Continue (or Submit on the passphrase screen), your key pair is generated on your device and your inbox opens.
What happens on your device, and what reaches us
Cannot see
- Your password — OPAQUE sends a mathematical proof, never the password itself
- Your passphrase, if you chose one
- Your private key in readable form — it is encrypted on your device before it is stored
Can see
- Your username, display name and public key
- A random salt used to derive your unlock key, if you chose Password only
- That a sign-up happened, and from which network address (used for rate limiting)
Common questions
Can I change my username later?
Not normally. Your username is your address, and the address is bound into your keys and your OPAQUE record. Accounts created by accepting a chat invitation get one change; see Change your username.
I was asked to set up two-factor authentication before I could see my inbox
Some sign-up configurations require two-factor authentication (and a recovery address) before the first use. Follow the screen — it is the same setup as Set up two-factor authentication — and you will be let through as soon as it is done.
Why do I see a @securedwebmail.com address in the screenshots?
The pictures were taken on our test server. On the real service the domain is @private.ki.
What should I do first once I'm in?
The setup checklist suggests three things: pair your phone, turn on two-factor authentication and add a recovery address.